Explore Our Services
Featured inLOGO
logo
Logo
LOGO
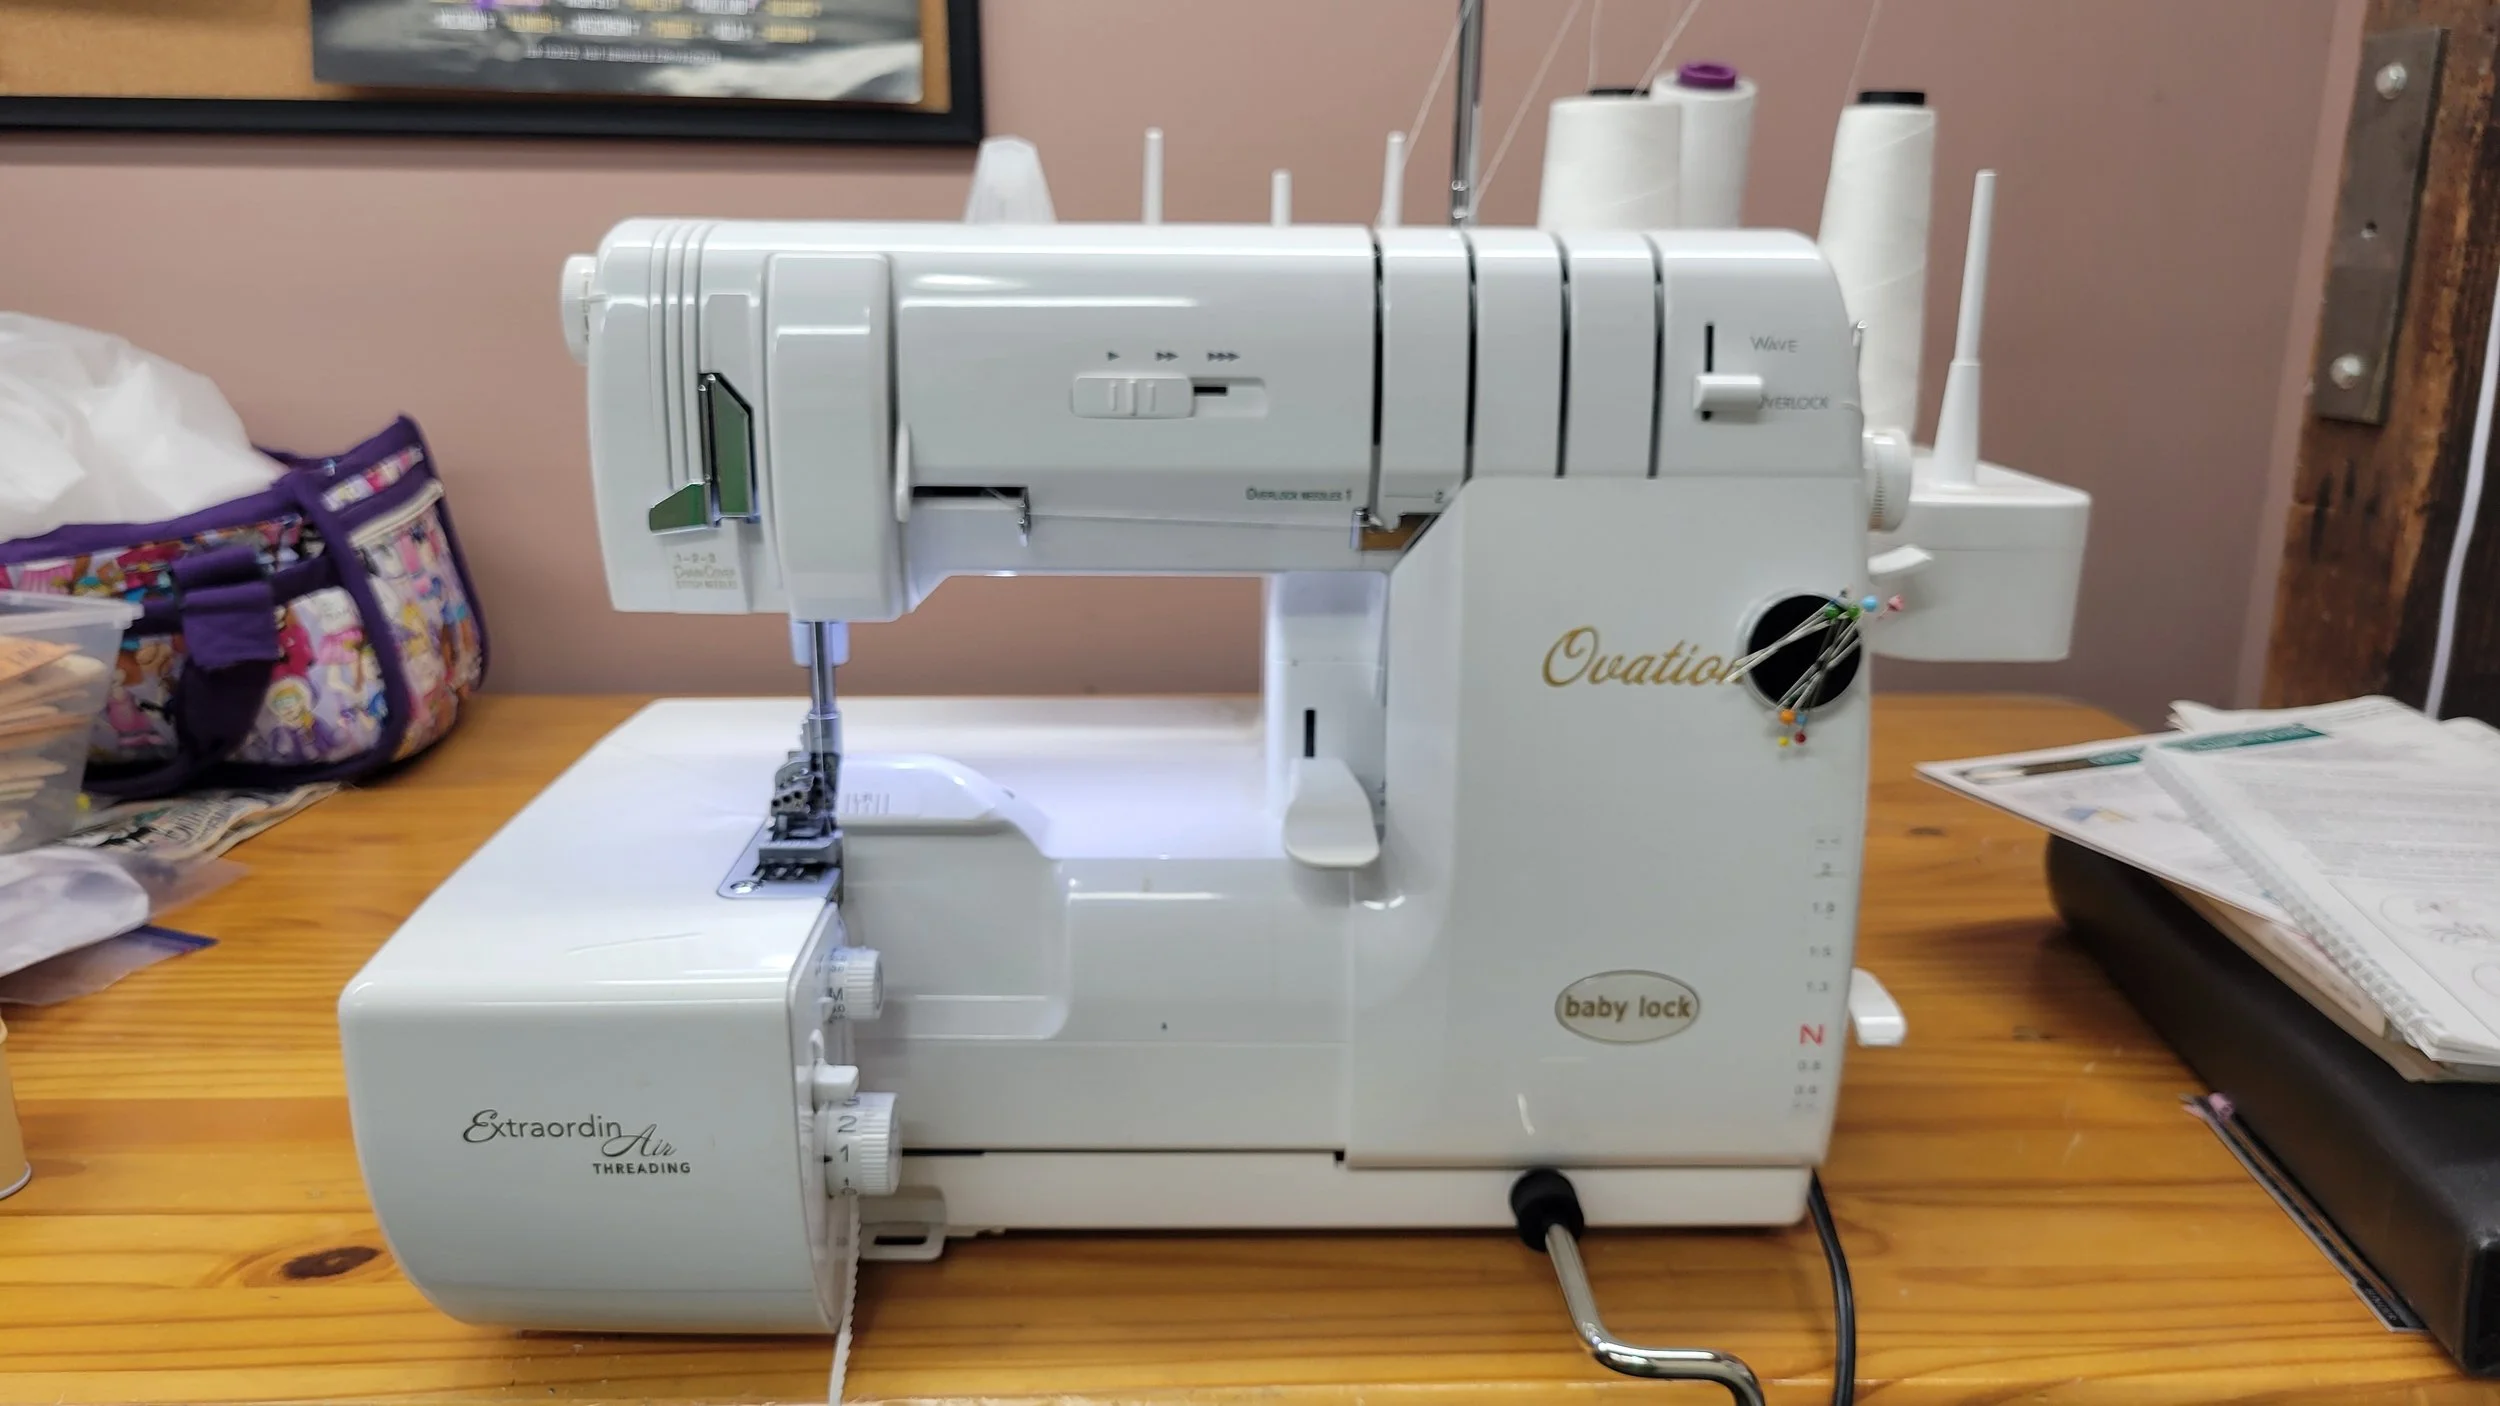
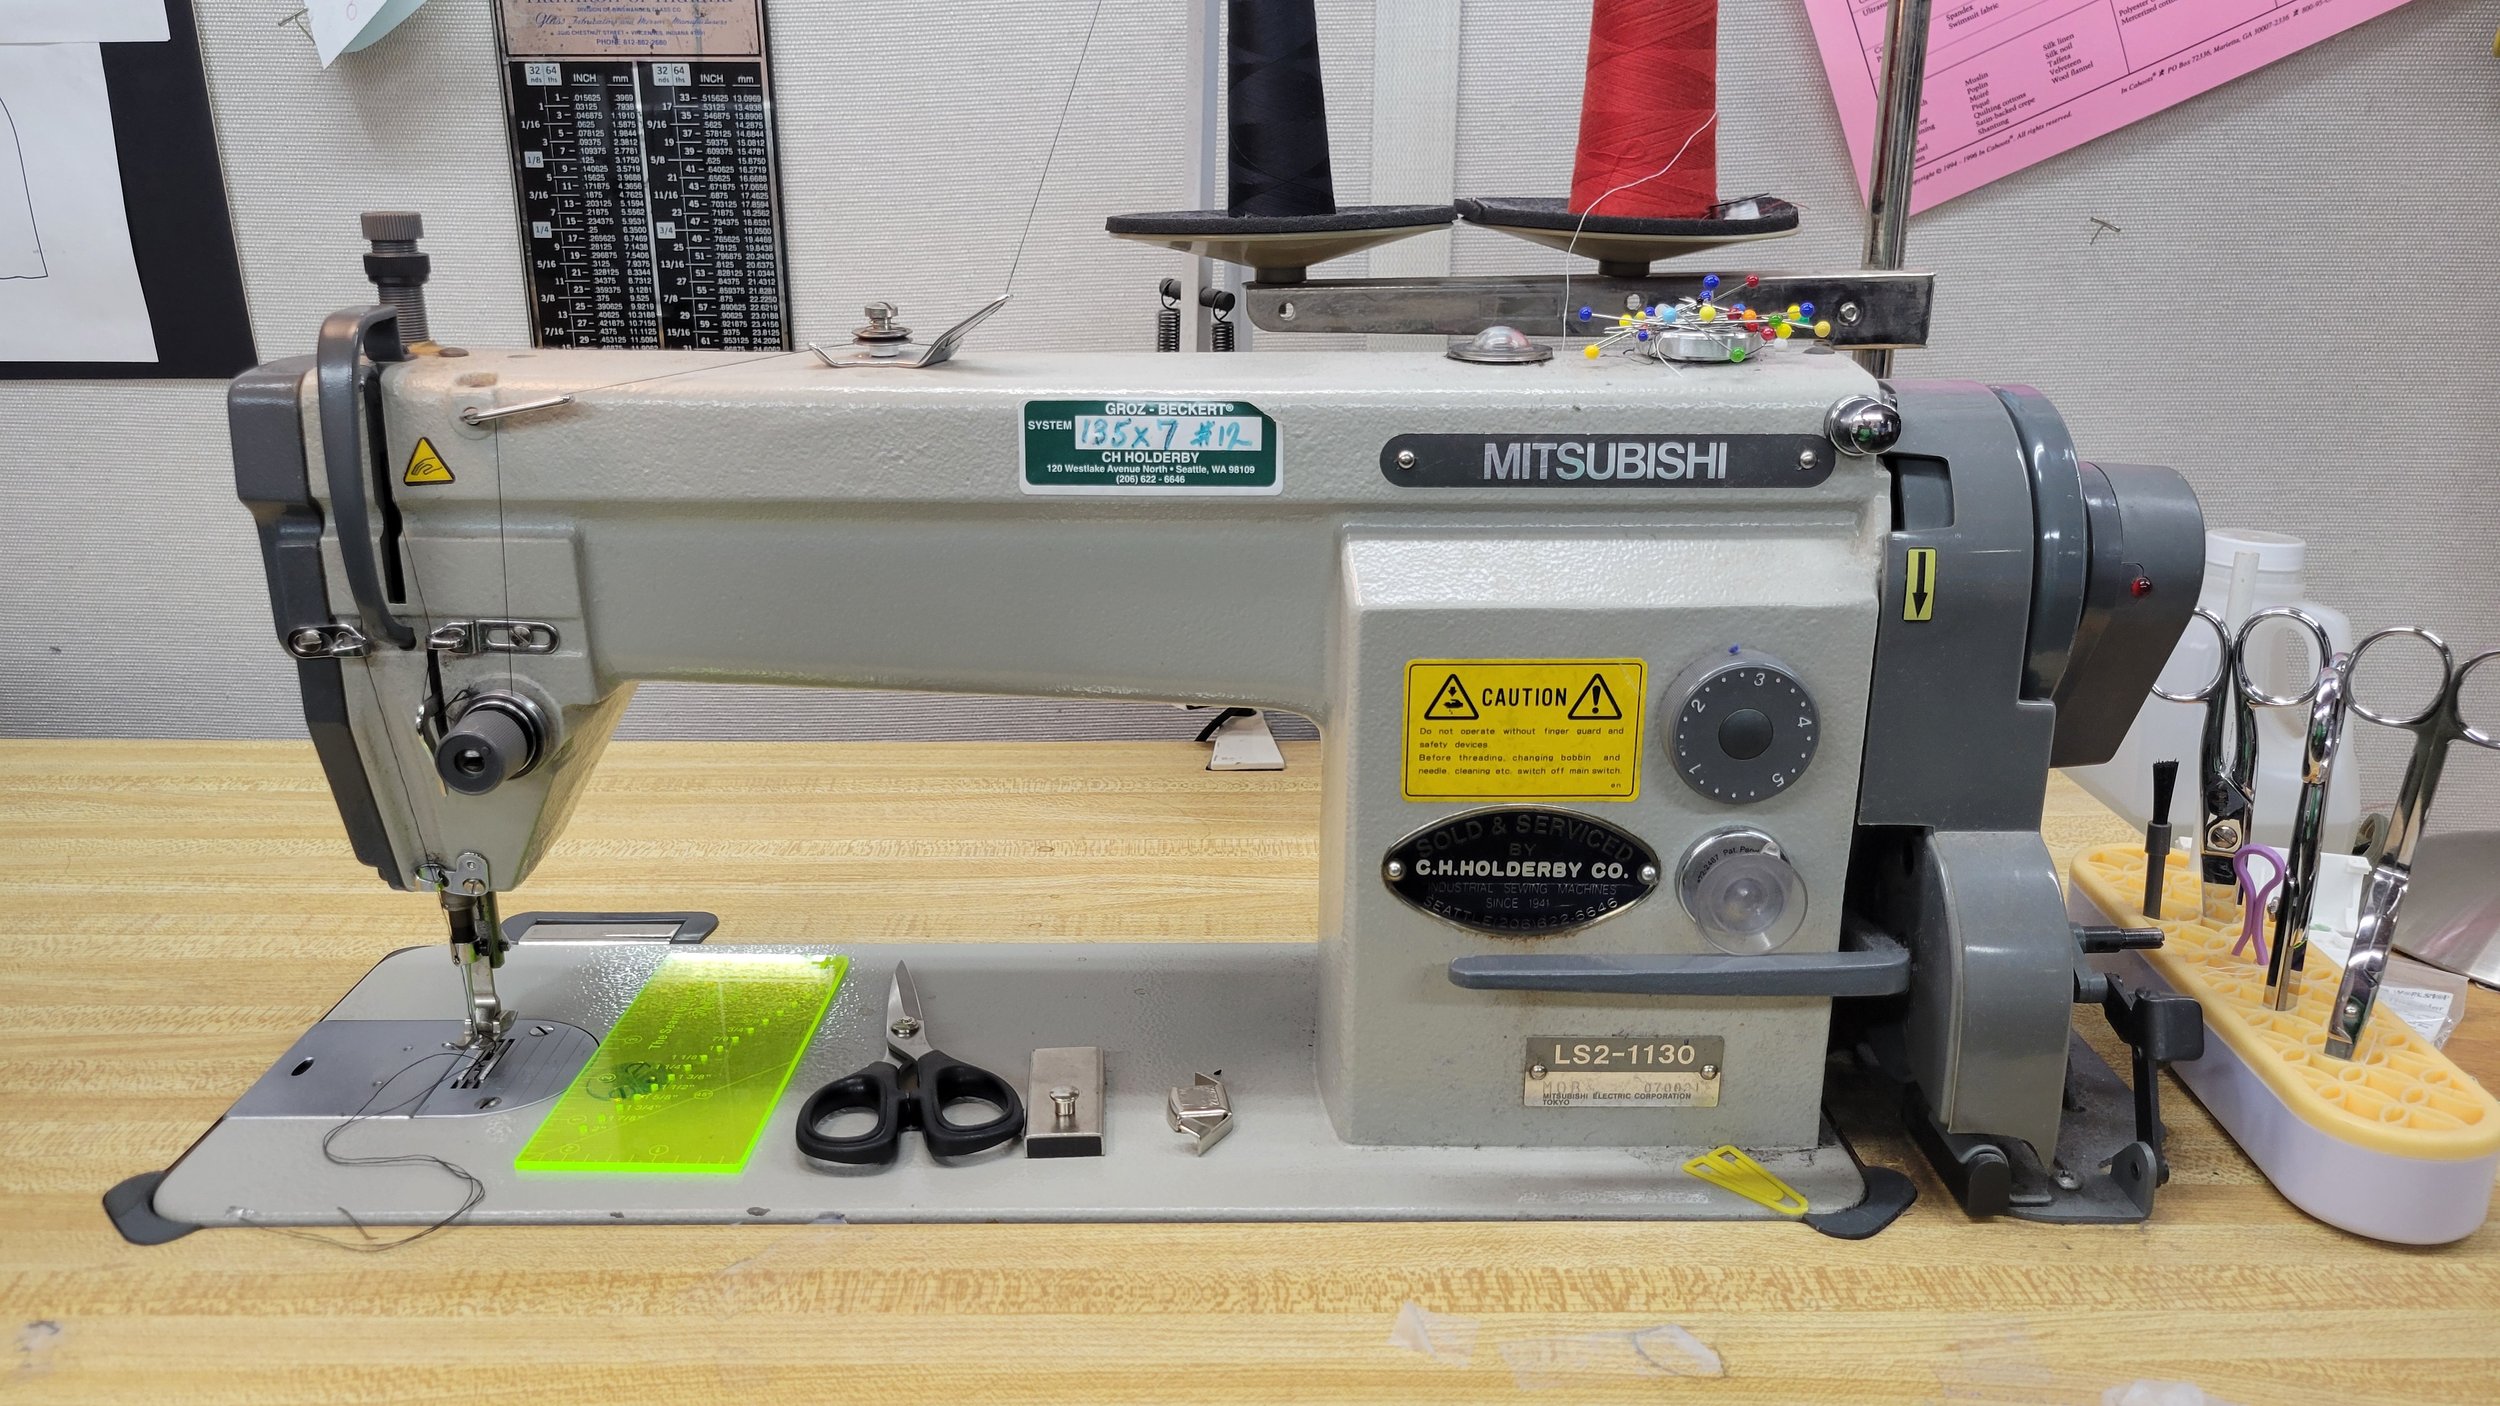
Equipment
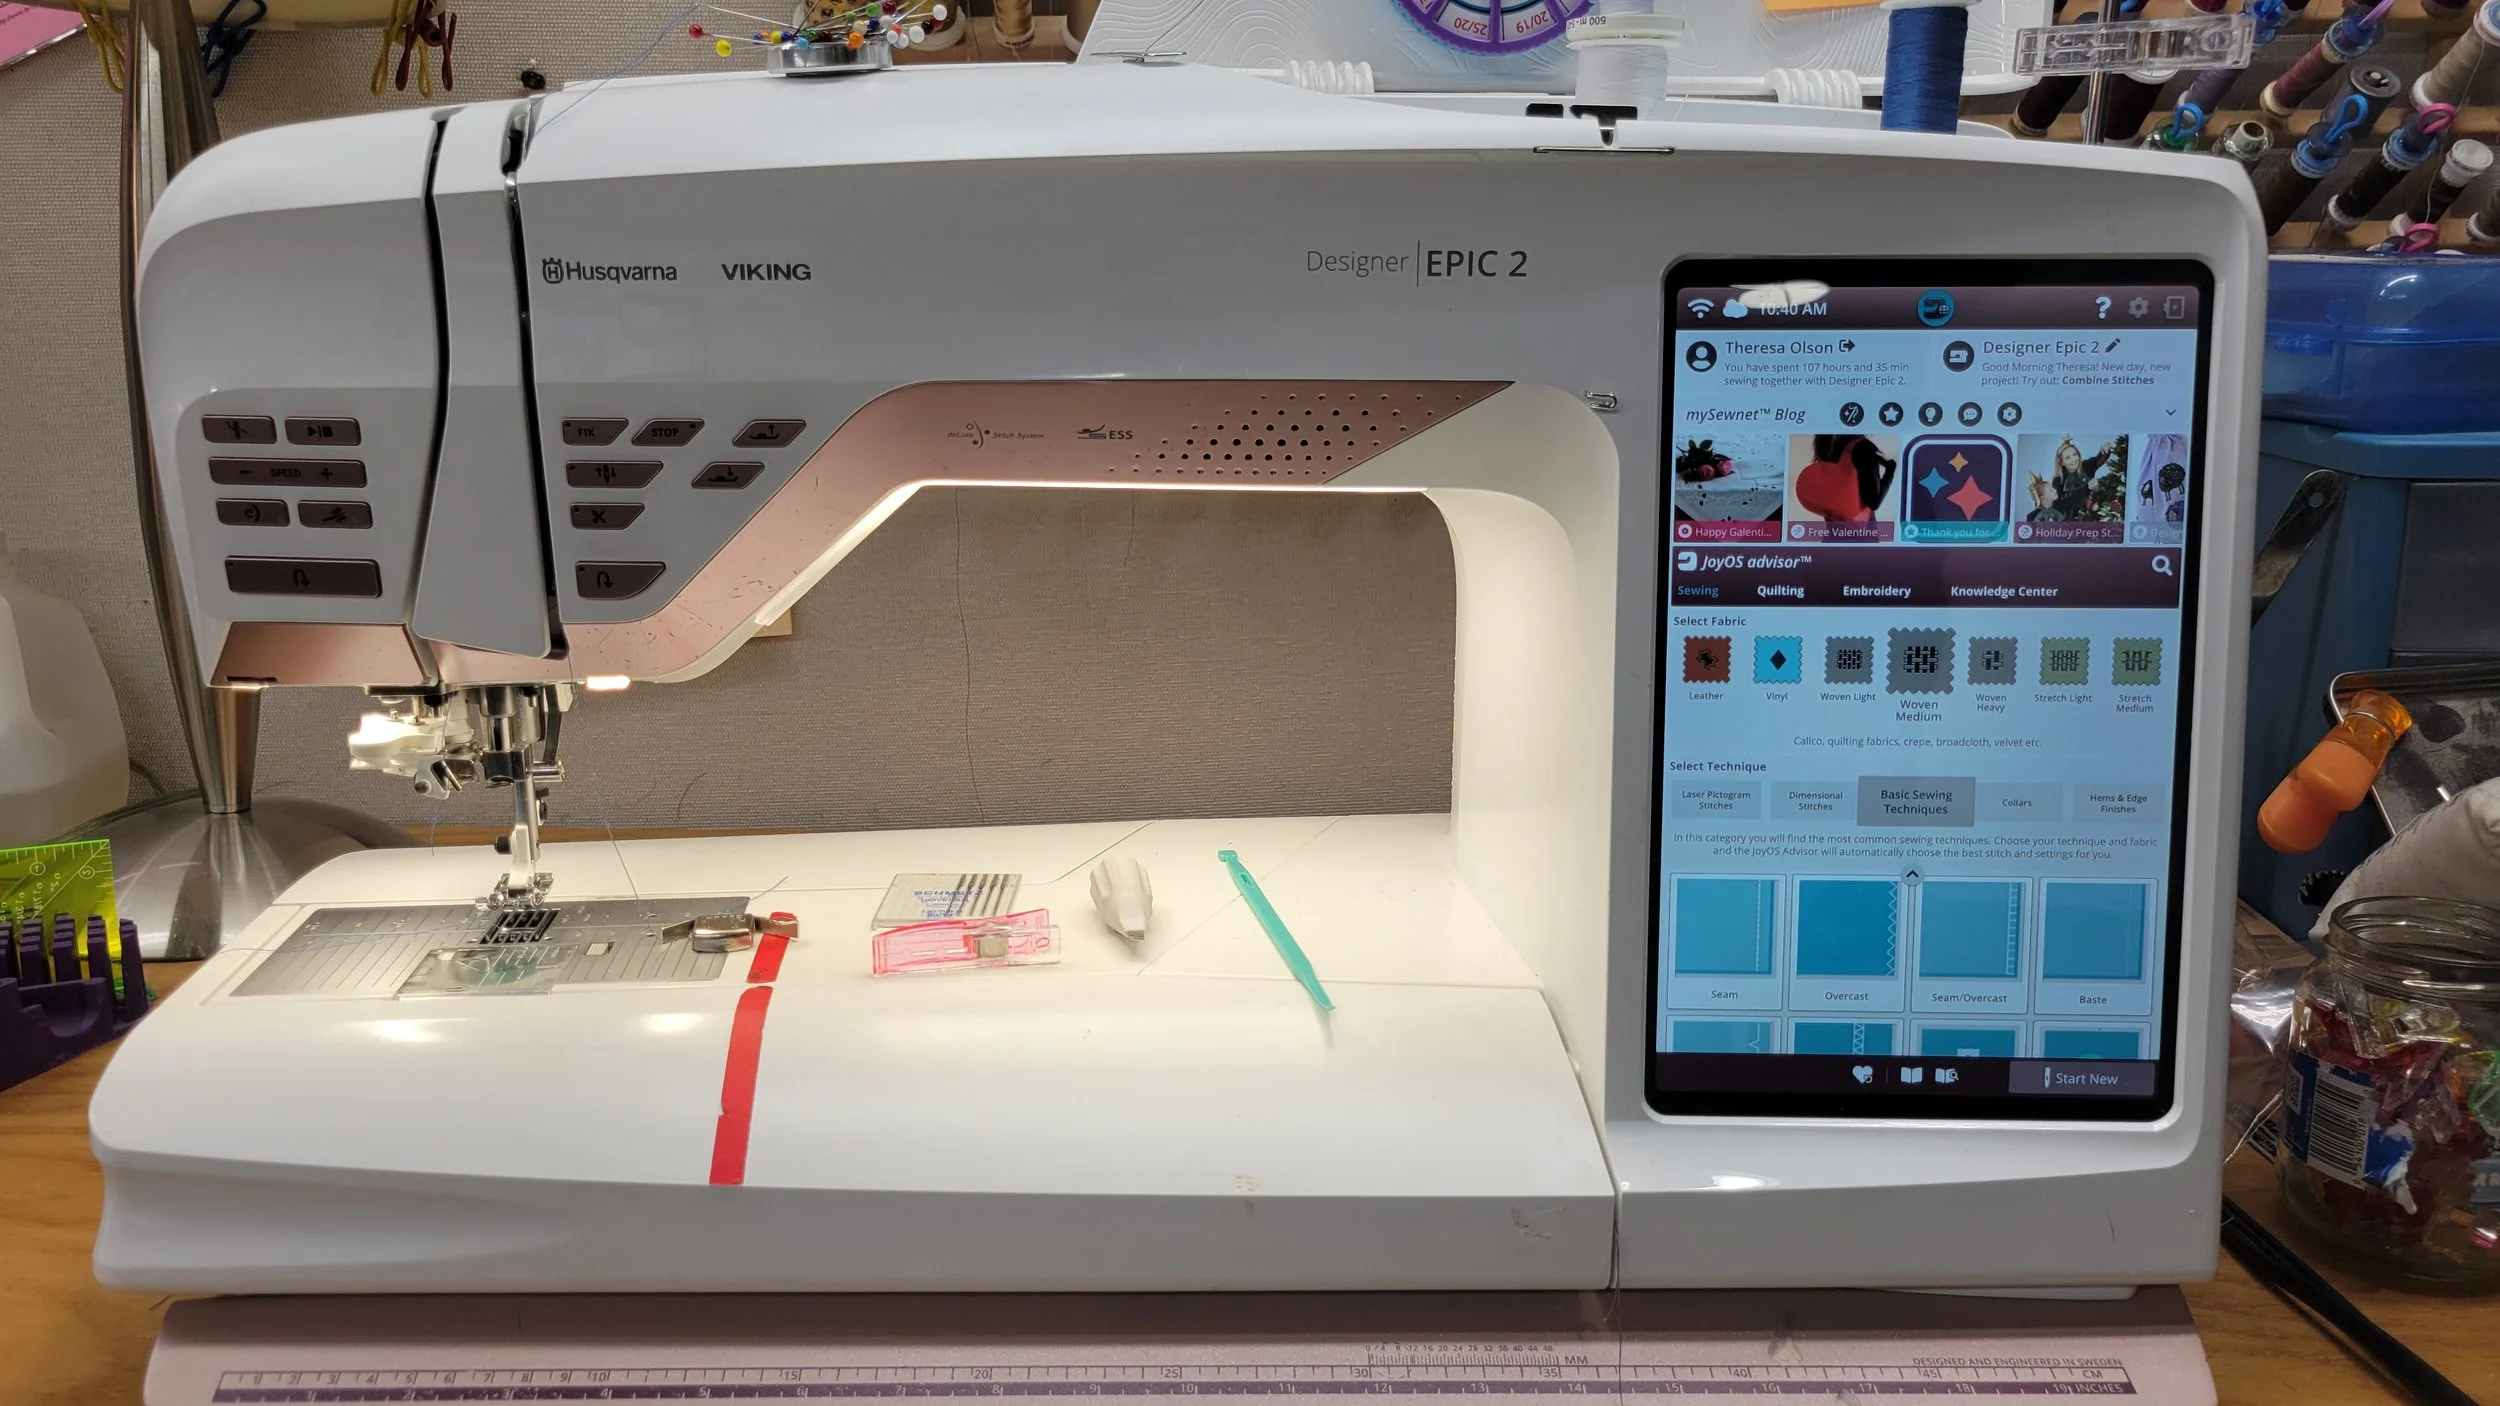
I have a variety of machinery to meet many needs
-
If the block editor you’re using doesn’t show a built‑in “Add photo” (or “Image”) menu option, you can still insert an image by using one of these common methods depending on the editor/platform:
Drag and drop
Drag an image file from your computer and drop it directly onto the block. Many editors will automatically create an image element inside that block.
Paste from clipboard
Copy an image (or take a screenshot) and paste (Ctrl+V / Cmd+V) while the block is focused. The editor may embed the image into that block.
Use an “Insert” or “+” control near the block
Some editor UIs hide image insertion behind a small plus (+), ellipsis (…), or contextual toolbar that appears when the block is selected. Click the block to reveal its inline toolbar and look for an image icon or “Insert” menu.
Change the block type
If the block supports different types, switch it to an Image block or Media block. Look for a block-type dropdown or a transform/convert option when the block is selected.
Upload via media library or file manager
Open the editor’s media library or file manager (often accessible from a global toolbar or an “Add media” button), upload the photo there, then insert it into the selected block via the library’s insert option.
Use HTML/markdown if supported
If the block accepts raw HTML or markdown, add an image tag or markdown image link:
HTML:
Markdown: Replace the URL with the uploaded file’s path or an external image URL.
Use block settings or sidebar
With the block selected, check the right-hand panel or block settings for background/image options (useful for hero/cover blocks). Upload or select the image there.
Insert via URL
If your editor allows inserting by URL, paste the image’s direct URL into the block’s image field or into a dialog that appears
If the block editor you’re using doesn’t show a built‑in “Add photo” (or “Image”) menu option, you can still insert an image by using one of these common methods depending on the editor/platform:
Drag and drop
Drag an image file from your computer and drop it directly onto the block. Many editors will automatically create an image element inside that block.
Paste from clipboard
Copy an image (or take a screenshot) and paste (Ctrl+V / Cmd+V) while the block is focused. The editor may embed the image into that block.
Use an “Insert” or “+” control near the block
Some editor UIs hide image insertion behind a small plus (+), ellipsis (…), or contextual toolbar that appears when the block is selected. Click the block to reveal its inline toolbar and look for an image icon or “Insert” menu.
Change the block type
If the block supports different types, switch it to an Image block or Media block. Look for a block-type dropdown or a transform/convert option when the block is selected.
Upload via media library or file manager
Open the editor’s media library or file manager (often accessible from a global toolbar or an “Add media” button), upload the photo there, then insert it into the selected block via the library’s insert option.
Use HTML/markdown if supported
If the block accepts raw HTML or markdown, add an image tag or markdown image link:
HTML:
Markdown: Replace the URL with the uploaded file’s path or an external image URL.
Use block settings or sidebar
With the block selected, check the right-hand panel or block settings for background/image options (useful for hero/cover blocks). Upload or select the image there.
Insert via URL
If your editor allows inserting by URL, paste the image’s direct URL into the block’s image field or into a dialog that appears when you choose “Add media” or “Insert image.”
Keyboard shortcuts and commands
Some editors have a command palette (
If the block editor you’re using doesn’t show a built‑in “Add photo” (or “Image”) menu option, you can still insert an image by using one of these common methods depending on the editor/platform:
Drag and drop
Drag an image file from your computer and drop it directly onto the block. Many editors will automatically create an image element inside that block.
Paste from clipboard
Copy an image (or take a screenshot) and paste (Ctrl+V / Cmd+V) while the block is focused. The editor may embed the image into that block.
Use an “Insert” or “+” control near the block
Some editor UIs hide image insertion behind a small plus (+), ellipsis (…), or contextual toolbar that appears when the block is selected. Click the block to reveal its inline toolbar and look for an image icon or “Insert” menu.
Change the block type
If the block supports different types, switch it to an Image block or Media block. Look for a block-type dropdown or a transform/convert option when the block is selected.
Upload via media library or file manager
Open the editor’s media library or file manager (often accessible from a global toolbar or an “Add media” button), upload the photo there, then insert it into the selected block via the library’s insert option.
Use HTML/markdown if supported
If the block accepts raw HTML or markdown, add an image tag or markdown image link:
HTML:
Markdown: Replace the URL with the uploaded file’s path or an external image URL.
Use block settings or sidebar
With the block selected, check the right-hand panel or block settings for background/image options (useful for hero/cover blocks). Upload or select the image there.
Insert via URL
If your editor allows inserting by URL, paste the image’s direct URL into the block’s image field or into a dialog that appears when you choose “Add media” or “Insert image.”
Keyboard shortcuts and commands
Some editors have a command palette (Ctrl+K, Ctrl+Shift+P, or Cmd
If the block editor you’re using doesn’t show a built‑in “Add photo” (or “Image”) menu option, you can still insert an image by using one of these common methods depending on the editor/platform:
Drag and drop
Drag an image file from your computer and drop it directly onto the block. Many editors will automatically create an image element inside that block.
Paste from clipboard
Copy an image (or take a screenshot) and paste (Ctrl+V / Cmd+V) while the block is focused. The editor may embed the image into that block.
Use an “Insert” or “+” control near the block
Some editor UIs hide image insertion behind a small plus (+), ellipsis (…), or contextual toolbar that appears when the block is selected. Click the block to reveal its inline toolbar and look for an image icon or “Insert” menu.
Change the block type
If the block supports different types, switch it to an Image block or Media block. Look for a block-type dropdown or a transform/convert option when the block is selected.
Upload via media library or file manager
Open the editor’s media library or file manager (often accessible from a global toolbar or an “Add media” button), upload the photo there, then insert it into the selected block via the library’s insert option.
Use HTML/markdown if supported
If the block accepts raw HTML or markdown, add an image tag or markdown image link:
HTML:
Markdown: Replace the URL with the uploaded file’s path or an external image URL.
Use block settings or sidebar
With the block selected, check the right-hand panel or block settings for background/image options (useful for hero/cover blocks). Upload or select the image there.
Insert via URL
If your editor allows inserting by URL, paste the image’s direct URL into the block’s image field or into a dialog that appears when you choose “Add media” or “Insert image.”
Keyboard shortcuts and commands
Some editors have a command palette (Ctrl+K, Ctrl+Shift+P, or Cmd+K) where you can type “image,” “insert
If the block editor you’re using doesn’t show a built‑in “Add photo” (or “Image”) menu option, you can still insert an image by using one of these common methods depending on the editor/platform:
Drag and drop
Drag an image file from your computer and drop it directly onto the block. Many editors will automatically create an image element inside that block.
Paste from clipboard
Copy an image (or take a screenshot) and paste (Ctrl+V / Cmd+V) while the block is focused. The editor may embed the image into that block.
Use an “Insert” or “+” control near the block
Some editor UIs hide image insertion behind a small plus (+), ellipsis (…), or contextual toolbar that appears when the block is selected. Click the block to reveal its inline toolbar and look for an image icon or “Insert” menu.
Change the block type
If the block supports different types, switch it to an Image block or Media block. Look for a block-type dropdown or a transform/convert option when the block is selected.
Upload via media library or file manager
Open the editor’s media library or file manager (often accessible from a global toolbar or an “Add media” button), upload the photo there, then insert it into the selected block via the library’s insert option.
Use HTML/markdown if supported
If the block accepts raw HTML or markdown, add an image tag or markdown image link:
HTML:
Markdown: Replace the URL with the uploaded file’s path or an external image URL.
Use block settings or sidebar
With the block selected, check the right-hand panel or block settings for background/image options (useful for hero/cover blocks). Upload or select the image there.
Insert via URL
If your editor allows inserting by URL, paste the image’s direct URL into the block’s image field or into a dialog that appears when you choose “Add media” or “Insert image.”
Keyboard shortcuts and commands
Some editors have a command palette (Ctrl+K, Ctrl+Shift+P, or Cmd+K) where you can type “image,” “insert image,” or similar to add a photo.
If none of
If the block editor you’re using doesn’t show a built‑in “Add photo” (or “Image”) menu option, you can still insert an image by using one of these common methods depending on the editor/platform:
Drag and drop
Drag an image file from your computer and drop it directly onto the block. Many editors will automatically create an image element inside that block.
Paste from clipboard
Copy an image (or take a screenshot) and paste (Ctrl+V / Cmd+V) while the block is focused. The editor may embed the image into that block.
Use an “Insert” or “+” control near the block
Some editor UIs hide image insertion behind a small plus (+), ellipsis (…), or contextual toolbar that appears when the block is selected. Click the block to reveal its inline toolbar and look for an image icon or “Insert” menu.
Change the block type
If the block supports different types, switch it to an Image block or Media block. Look for a block-type dropdown or a transform/convert option when the block is selected.
Upload via media library or file manager
Open the editor’s media library or file manager (often accessible from a global toolbar or an “Add media” button), upload the photo there, then insert it into the selected block via the library’s insert option.
Use HTML/markdown if supported
If the block accepts raw HTML or markdown, add an image tag or markdown image link:
HTML:
Markdown: Replace the URL with the uploaded file’s path or an external image URL.
Use block settings or sidebar
With the block selected, check the right-hand panel or block settings for background/image options (useful for hero/cover blocks). Upload or select the image there.
Insert via URL
If your editor allows inserting by URL, paste the image’s direct URL into the block’s image field or into a dialog that appears when you choose “Add media” or “Insert image.”
Keyboard shortcuts and commands
Some editors have a command palette (Ctrl+K, Ctrl+Shift+P, or Cmd+K) where you can type “image,” “insert image,” or similar to add a photo.
If none of the above work, provide these details and I’ll give targeted steps:
The name of the platform/editor (e.g., WordPress/Gutenberg, Notion
If the block editor you’re using doesn’t show a built‑in “Add photo” (or “Image”) menu option, you can still insert an image by using one of these common methods depending on the editor/platform:
Drag and drop
Drag an image file from your computer and drop it directly onto the block. Many editors will automatically create an image element inside that block.
Paste from clipboard
Copy an image (or take a screenshot) and paste (Ctrl+V / Cmd+V) while the block is focused. The editor may embed the image into that block.
Use an “Insert” or “+” control near the block
Some editor UIs hide image insertion behind a small plus (+), ellipsis (…), or contextual toolbar that appears when the block is selected. Click the block to reveal its inline toolbar and look for an image icon or “Insert” menu.
Change the block type
If the block supports different types, switch it to an Image block or Media block. Look for a block-type dropdown or a transform/convert option when the block is selected.
Upload via media library or file manager
Open the editor’s media library or file manager (often accessible from a global toolbar or an “Add media” button), upload the photo there, then insert it into the selected block via the library’s insert option.
Use HTML/markdown if supported
If the block accepts raw HTML or markdown, add an image tag or markdown image link:
HTML:
Markdown: Replace the URL with the uploaded file’s path or an external image URL.
Use block settings or sidebar
With the block selected, check the right-hand panel or block settings for background/image options (useful for hero/cover blocks). Upload or select the image there.
Insert via URL
If your editor allows inserting by URL, paste the image’s direct URL into the block’s image field or into a dialog that appears when you choose “Add media” or “Insert image.”
Keyboard shortcuts and commands
Some editors have a command palette (Ctrl+K, Ctrl+Shift+P, or Cmd+K) where you can type “image,” “insert image,” or similar to add a photo.
If none of the above work, provide these details and I’ll give targeted steps:
The name of the platform/editor (e.g., WordPress/Gutenberg, Notion, Google Docs, Squarespace, Wix, Ghost, Figma, etc
If the block editor you’re using doesn’t show a built‑in “Add photo” (or “Image”) menu option, you can still insert an image by using one of these common methods depending on the editor/platform:
Drag and drop
Drag an image file from your computer and drop it directly onto the block. Many editors will automatically create an image element inside that block.
Paste from clipboard
Copy an image (or take a screenshot) and paste (Ctrl+V / Cmd+V) while the block is focused. The editor may embed the image into that block.
Use an “Insert” or “+” control near the block
Some editor UIs hide image insertion behind a small plus (+), ellipsis (…), or contextual toolbar that appears when the block is selected. Click the block to reveal its inline toolbar and look for an image icon or “Insert” menu.
Change the block type
If the block supports different types, switch it to an Image block or Media block. Look for a block-type dropdown or a transform/convert option when the block is selected.
Upload via media library or file manager
Open the editor’s media library or file manager (often accessible from a global toolbar or an “Add media” button), upload the photo there, then insert it into the selected block via the library’s insert option.
Use HTML/markdown if supported
If the block accepts raw HTML or markdown, add an image tag or markdown image link:
HTML:
Markdown: Replace the URL with the uploaded file’s path or an external image URL.
Use block settings or sidebar
With the block selected, check the right-hand panel or block settings for background/image options (useful for hero/cover blocks). Upload or select the image there.
Insert via URL
If your editor allows inserting by URL, paste the image’s direct URL into the block’s image field or into a dialog that appears when you choose “Add media” or “Insert image.”
Keyboard shortcuts and commands
Some editors have a command palette (Ctrl+K, Ctrl+Shift+P, or Cmd+K) where you can type “image,” “insert image,” or similar to add a photo.
If none of the above work, provide these details and I’ll give targeted steps:
The name of the platform/editor (e.g., WordPress/Gutenberg, Notion, Google Docs, Squarespace, Wix, Ghost, Figma, etc.)
Whether the block is a text block, button, card, cover
If the block editor you’re using doesn’t show a built‑in “Add photo” (or “Image”) menu option, you can still insert an image by using one of these common methods depending on the editor/platform:
Drag and drop
Drag an image file from your computer and drop it directly onto the block. Many editors will automatically create an image element inside that block.
Paste from clipboard
Copy an image (or take a screenshot) and paste (Ctrl+V / Cmd+V) while the block is focused. The editor may embed the image into that block.
Use an “Insert” or “+” control near the block
Some editor UIs hide image insertion behind a small plus (+), ellipsis (…), or contextual toolbar that appears when the block is selected. Click the block to reveal its inline toolbar and look for an image icon or “Insert” menu.
Change the block type
If the block supports different types, switch it to an Image block or Media block. Look for a block-type dropdown or a transform/convert option when the block is selected.
Upload via media library or file manager
Open the editor’s media library or file manager (often accessible from a global toolbar or an “Add media” button), upload the photo there, then insert it into the selected block via the library’s insert option.
Use HTML/markdown if supported
If the block accepts raw HTML or markdown, add an image tag or markdown image link:
HTML:
Markdown: Replace the URL with the uploaded file’s path or an external image URL.
Use block settings or sidebar
With the block selected, check the right-hand panel or block settings for background/image options (useful for hero/cover blocks). Upload or select the image there.
Insert via URL
If your editor allows inserting by URL, paste the image’s direct URL into the block’s image field or into a dialog that appears when you choose “Add media” or “Insert image.”
Keyboard shortcuts and commands
Some editors have a command palette (Ctrl+K, Ctrl+Shift+P, or Cmd+K) where you can type “image,” “insert image,” or similar to add a photo.
If none of the above work, provide these details and I’ll give targeted steps:
The name of the platform/editor (e.g., WordPress/Gutenberg, Notion, Google Docs, Squarespace, Wix, Ghost, Figma, etc.)
Whether the block is a text block, button, card, cover, or custom/component block
Whether you need the image to be inline, background, or a separate image element
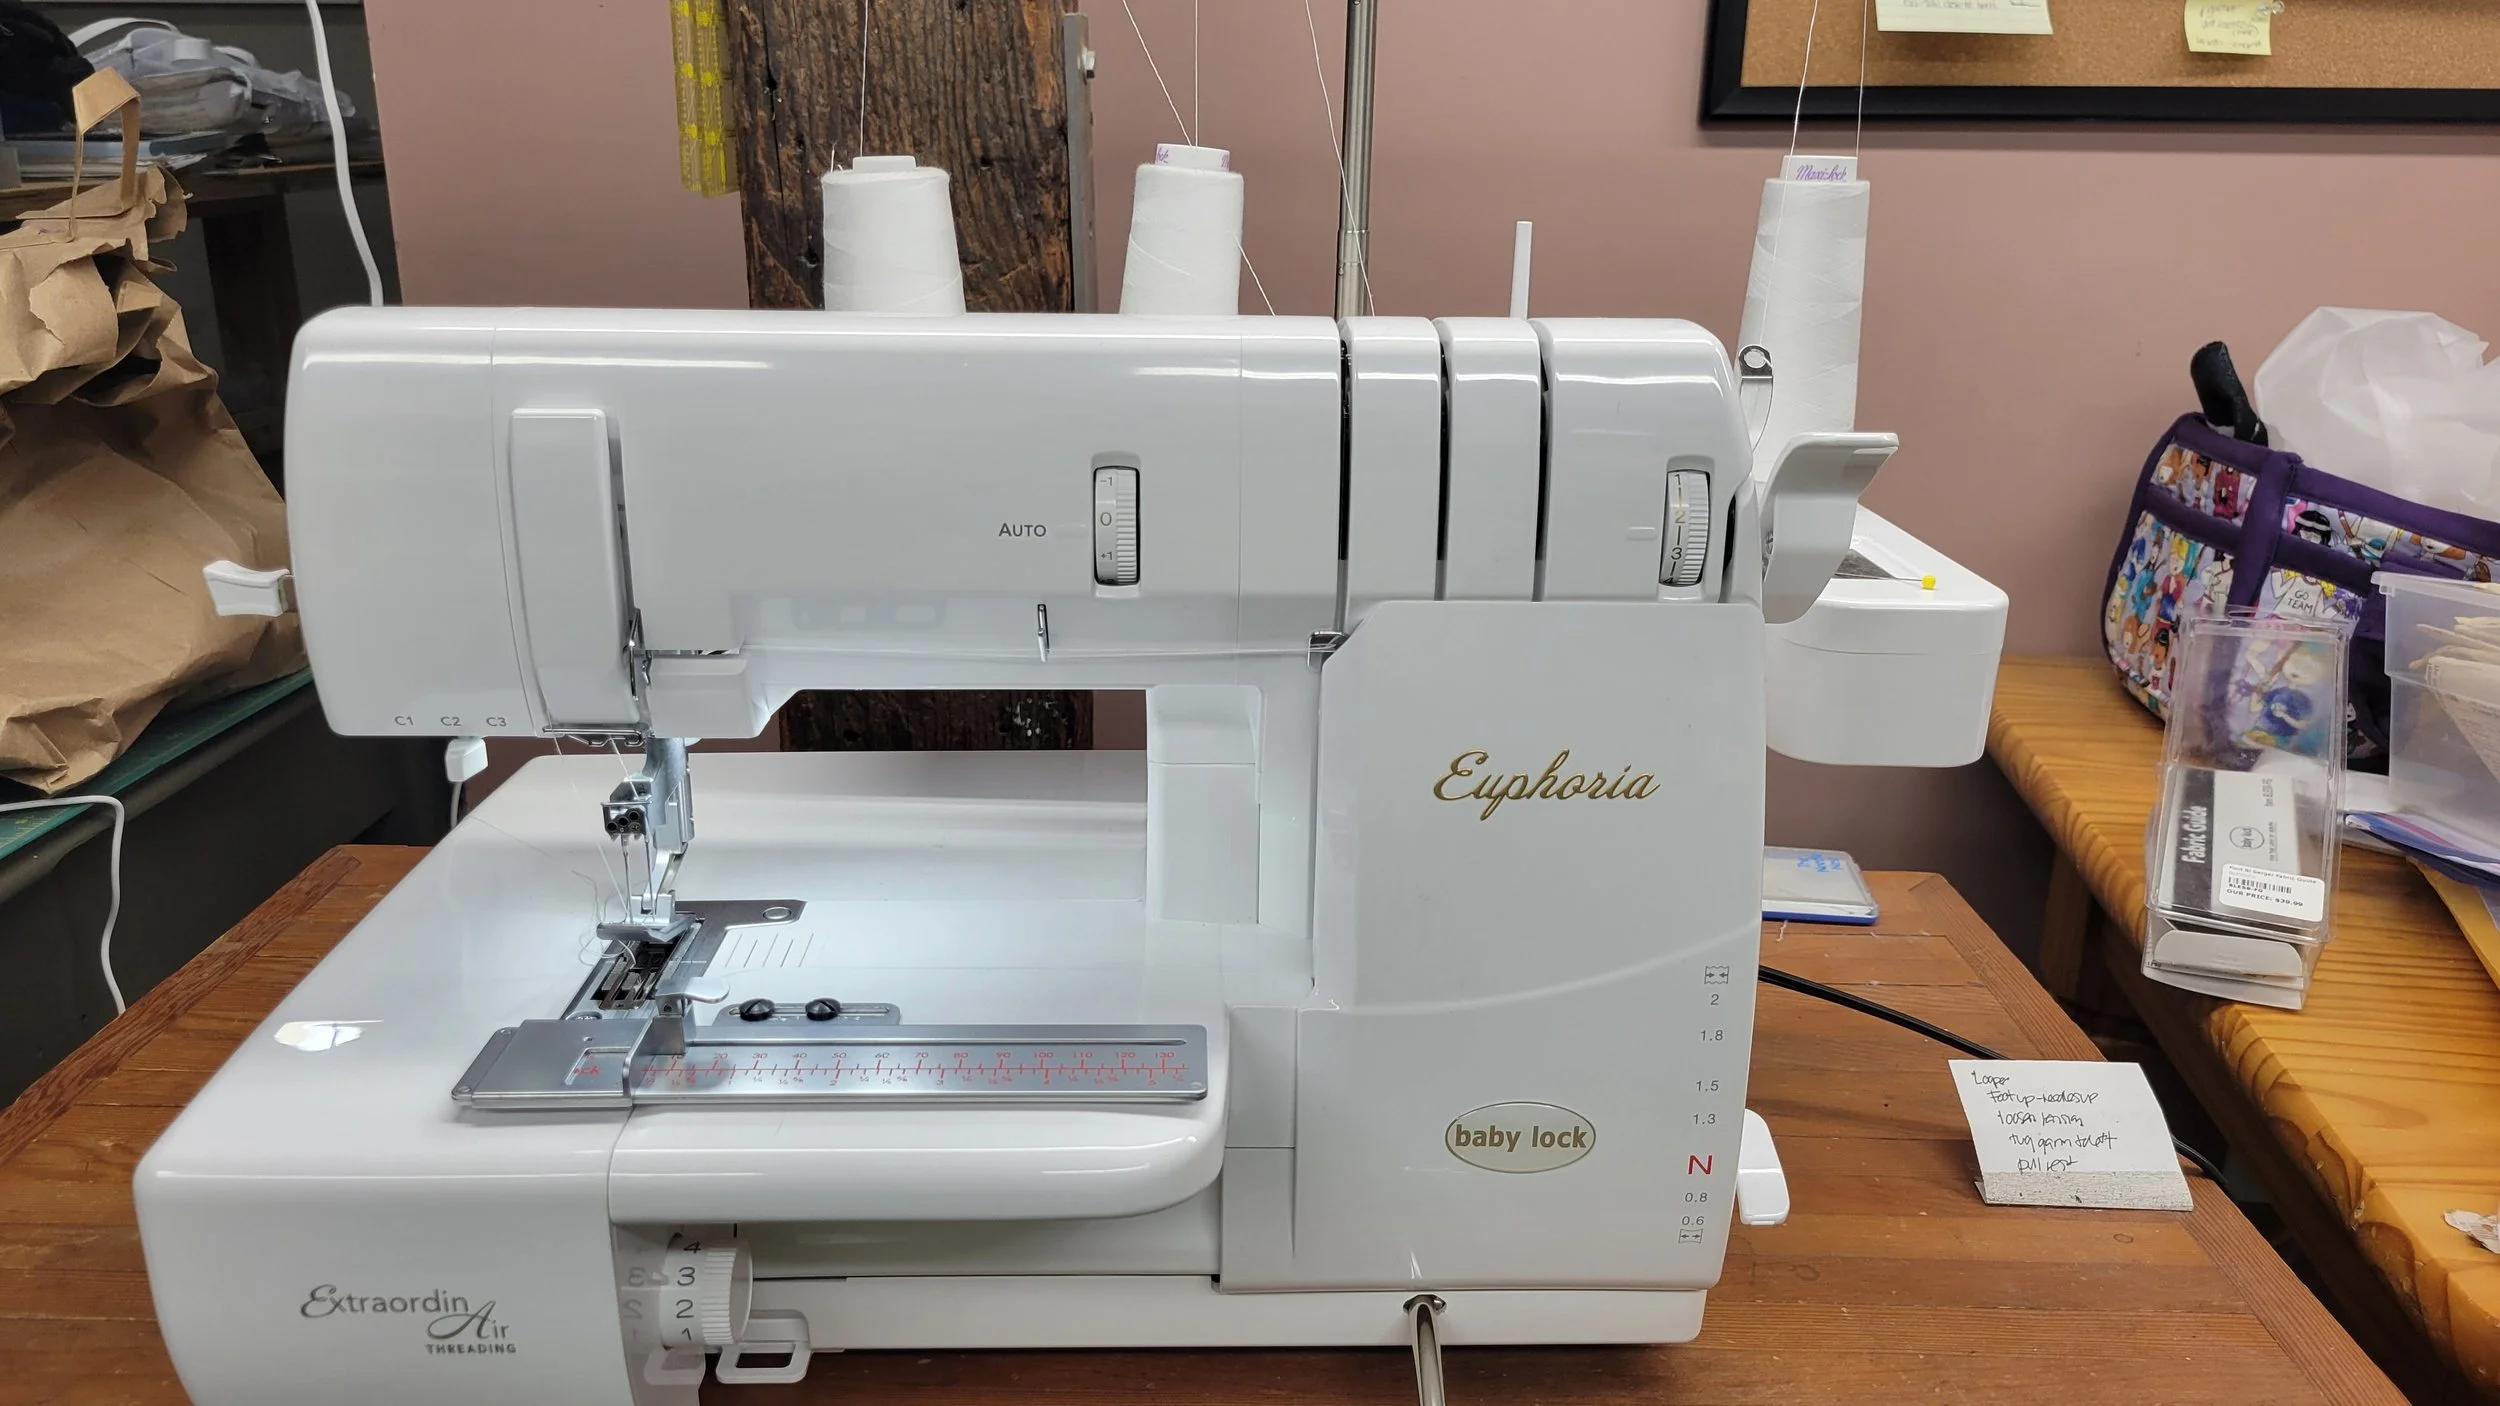
This is the same machine that is used in factories. I use it on may items, especially when I am sewing on something heavyweight.
-
-
-